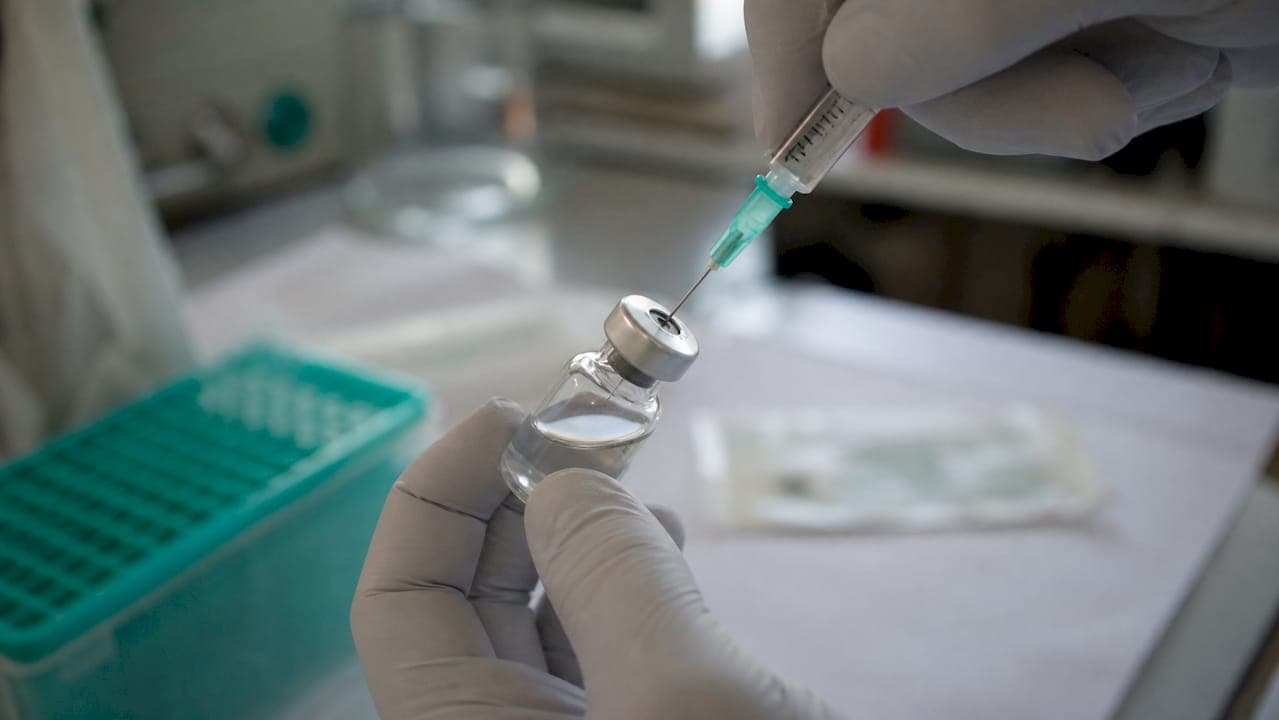
For reconstitution and routine lab draws of HPLC-verified peptides, the two-syringe workflow covers most tasks: a 3 mL–5 mL Luer-lock syringe with an 18–21G needle for bulk solvent transfer, and a U-100 insulin syringe (1 mL, 29–31G) for routine draws and aliquoting. This is the core of any sound peptide needle gauge lab protocol, and it maps directly to what the two-syringe rule recommends for research-grade peptide handling.
Task-by-task defaults:
- Reconstitution / bulk solvent transfer: 3 mL–5 mL Luer-lock syringe, 18–21G drawing needle, 1/2 inch (12.7 mm). Single-use per vial; discard after transfer is recommended.
- Routine draws and aliquoting (mid-range volumes): 1 mL U-100 insulin syringe, 29–31G integrated needle, 1/2 inch. Draw should land in the middle third of the barrel for best resolution.
- High-resolution small draws: 0.3 mL or 0.5 mL U-100 insulin syringe, 29–31G, 5/16–1/4 inch (6–8 mm) when vial geometry allows.
- Initial bulk transfer before switching to insulin syringe: 27–29G acceptable for the first pull; switch to 29–31G for all subsequent draws.
- Sterile filtration: 0.22 µm low-protein-binding PES or PVDF syringe filter mounted on the reconstitution syringe before dispensing into the final vial.
- Multi-dose vials: date on first puncture; bacteriostatic water supports a typical 28-day multi-dose window. Discard per institutional policy.
- CoA and batch log: record peptide name, CoA batch number, solvent type, concentration, and reconstitution date against every vial. Peptasticlabs provides HPLC-verified peptides (≥99% purity) with Certificate of Analysis and batch documentation on request.
Key Takeaways
The two-syringe workflow, correct barrel selection, and CoA-linked documentation are the three non-negotiable elements of a sound peptide reconstitution protocol.
| Point | Details |
|---|---|
| Two-syringe rule | Use a 3–5 mL Luer-lock (18–21G) for bulk transfer; switch to a U-100 insulin syringe (29–31G) for all draws. |
| Barrel selection for resolution | Place every draw in the middle third of the barrel; use 0.3 mL for draws under 30 µL, 1 mL for larger volumes. |
| Sterile filtration standard | Filter at 0.22 µm using PES or PVDF low-protein-binding membranes; pre-wet to reduce adsorption losses. |
| CoA documentation | Record CoA batch number, concentration, solvent, date, and researcher initials on every vial and aliquot. |
| Peptasticlabs sourcing | Peptasticlabs supplies ≥99% HPLC-verified peptides with batch CoA, supporting full bench-to-supplier traceability. |
Table of Contents
- What syringe and gauge should you use for each lab task?
- How to reconstitute HPLC-verified peptides using aseptic technique
- Why barrel volume, gauge, and syringe material affect measurement accuracy
- Which sterile filter materials are compatible with peptide solutions?
- How should you store and document reconstituted peptide aliquots?
- What U.S. regulatory and safety requirements apply to lab sharps?
- Ready-to-use SOP checklist for syringe selection and peptide reconstitution
- Why Peptasticlabs prioritizes CoA traceability and aseptic technique
- Peptasticlabs supplies HPLC-verified peptides with full batch documentation
- Sources
What syringe and gauge should you use for each lab task?
| Task | Syringe Type | Gauge | Needle Length | Single-Use Rule |
|---|---|---|---|---|
| Reconstitution / bulk solvent transfer | 3–5 mL Luer-lock | 18–21G | 1/2 inch (12.7 mm) | Yes — discard after transfer |
| Routine draw / aliquoting | 1 mL U-100 insulin | 29–31G | 1/2 inch (12.7 mm) | Yes — fresh per draw or per institutional policy |
| Small-volume / high-resolution draw | 0.3 mL or 0.5 mL U-100 insulin | 29–31G | 5/16–1/4 inch (6–8 mm) | Yes |
| Sterile filtration prep | 3–5 mL Luer-lock + 0.22 µm filter | 18–21G inlet | N/A (filter mounted) | Yes — filter single-use |
| Aliquot sampling | 0.3 mL U-100 insulin | 29–31G | 5/16 inch | Yes |
Notes on trade-offs:
- 18–21G transfers solvent quickly but increases septum wear over repeated punctures; reserve for the single bulk transfer only.
- 29–31G minimizes septum coring across repeated draws; slower flow is acceptable at small volumes.
- Needle length is a geometry convenience factor: 1/2 inch reaches pooled solution in standard vials; 5/16–1/4 inch suits low-volume final draws where tilting the vial concentrates the remaining solution.
- Dead space in Luer-hub assemblies is higher than in integrated-needle insulin syringes; for sub-100 µL draws, always use an integrated-needle U-100 syringe.
When to keep both 1 mL and 0.3 mL insulin syringes in the workflow:
- Use the 1 mL when drawing larger volumes; the wider graduation spacing reduces read error.
- Use the 0.3 mL when draws are smaller; placing a small volume draw in the middle third of a 0.3 mL barrel gives far better resolution than the same draw near the bottom of a 1 mL barrel.
- Stock both sizes when working with variable vial concentrations across a single experiment.
How to reconstitute HPLC-verified peptides using aseptic technique
A complete aseptic reconstitution requires clean workspace preparation, correct syringe selection, controlled solvent delivery, and immediate post-reconstitution documentation before any draw is taken.
Ordered steps:
- Equilibrate the lyophilized vial to room temperature (15–30 minutes). Do not open.
- Prepare workspace: clean bench surface with 70% isopropyl alcohol (IPA); allow to dry. Don PPE (gloves, eye protection).
- Inspect the vial: confirm peptide name, lot number, and CoA batch match your sample log. Check for visible damage or discoloration of the lyophilized cake.
- Disinfect the vial septum with a fresh alcohol swab; allow to dry fully before puncturing. Refer to sterile technique fundamentals for the full contamination-prevention checklist.
- Select the reconstitution syringe: 3–5 mL Luer-lock, 18–21G, 1/2 inch. Draw the calculated solvent volume.
- Equalize vial pressure: insert the needle, inject a small air volume equal to the solvent volume you will add, then draw the solvent back in slowly.
- Deliver solvent by trickling it down the inner glass wall. Do not direct the stream onto the lyophilized cake.
- Remove the syringe. Gently swirl the vial for 30–60 seconds. Do not vortex or shake.
- Visual inspection: solution should be clear and colorless (or the expected color per CoA). Cloudiness, particulates, or unusual color are rejection criteria.
- Discard the reconstitution syringe immediately into the sharps container.
- Change to a fresh U-100 insulin syringe (1 mL, 29–31G) for all subsequent draws.
- Label the vial: peptide name, concentration (mg/mL or µg/µL), solvent type, date/time, researcher initials, CoA batch number, and storage condition.
Two-syringe enforcement: the large Luer-lock handles solvent transfer only; the insulin syringe handles all routine draws. Mixing these roles increases septum coring and cross-contamination risk.
Troubleshooting:
- Cloudiness after mixing: allow additional equilibration time; if cloudiness persists, the peptide may require a co-solvent (e.g., a small volume of acetic acid or DMSO before aqueous dilution). Check CoA solubility notes.
- Particulates: do not use; filter through 0.22 µm PES or PVDF if protocol permits, then re-inspect.
- Plunger pull-back resistance: check for pressure differential; re-equalize vial pressure before drawing.
- Poor dissolution: confirm solvent compatibility against CoA; some peptides require gentle warming to 37°C.
Pre-run checklist:
- CoA batch number confirmed against vial label
- Workspace disinfected, PPE on
- Correct syringe sizes staged (Luer-lock + insulin)
- Sharps container within arm's reach
- Sample log open and ready to record
Pro Tip: For low-volume last draws, tilt the vial at 45° and position the needle bevel-down into the pooled solution at the vial shoulder. This recovers residual volume without introducing air into the syringe.
Why barrel volume, gauge, and syringe material affect measurement accuracy
Barrel volume and unit scale determine measurement resolution. A draw that lands in the middle third of the barrel (between one-third and two-thirds of full scale) minimizes read error; a draw near the plunger stop or the needle hub amplifies it. This is why choosing the right barrel for the expected draw volume is the single highest-impact equipment decision in small-volume peptide work.
Unit scale mapping:
- 0.3 mL U-100 = 30 IU total; each graduation = 1 IU = 10 µL
- 0.5 mL U-100 = 50 IU total; each graduation = 1 IU = 10 µL
- 1 mL U-100 = 100 IU total; each graduation = 1 IU = 10 µL
Place a 15 µL draw in a 1 mL barrel and it occupies 1.5 graduation marks — difficult to read accurately. Place the same draw in a 0.3 mL barrel and it occupies 1.5 of 30 total marks, still tight but with far less relative error.
Gauge and septum wear: wider gauges (18–21G) transfer solvent quickly but cut a larger channel through the septum. Repeated punctures with a wide gauge accelerate coring, which introduces particulate contamination. Switching to 29–31G for all post-reconstitution draws preserves septum integrity across the vial's usable life.
Integrated-needle advantage: U-100 insulin syringes with integrated needles eliminate the Luer hub dead space (typically 50–150 µL in detachable assemblies). For draws under 100 µL, that dead volume is not negligible. Integrated-needle designs recover it entirely.
Protein binding and plastics: peptides can adsorb to standard polypropylene surfaces at low concentrations. Low-bind syringe barrels and low-protein-binding filter membranes reduce adsorption losses, particularly for peptides below 1 mg/mL.
Which sterile filter materials are compatible with peptide solutions?
Use 0.22 µm sterile filtration with low-protein-binding membranes when solution sterilization is required and the peptide is confirmed compatible with filtration pressure and the chosen membrane chemistry.
Membrane trade-offs:
- PES (polyethersulfone): low protein binding, fast flow rate, compatible with aqueous buffers and most organic co-solvents at low concentrations. First choice for most peptide solutions.
- PVDF (polyvinylidene fluoride): good chemical compatibility with a broader solvent range; slightly higher binding than PES for some peptides. Use when organic solvent content is higher.
- Nylon: higher protein binding for many peptides; avoid for low-concentration solutions where adsorption losses are unacceptable.
Practical filtration notes:
- Pre-wet the filter with 0.5–1 mL of the same solvent before filtering the sample; this saturates binding sites and reduces adsorption of the first fraction.
- Discard the pre-rinse volume; collect only the post-rinse filtrate as the working solution.
- Mount the syringe filter directly onto the Luer-lock reconstitution syringe to minimize dead volume at the filter inlet.
Filter unit selection by sample volume:
- 0.5–2 mL samples: 4 mm or 13 mm syringe-mounted filter units minimize hold-up volume.
- 2–10 mL samples: 25 mm syringe-mounted filter units offer faster flow with acceptable hold-up.
- Compatible syringe types: Luer-lock only; Luer-slip connections risk filter detachment under filtration pressure.
How should you store and document reconstituted peptide aliquots?
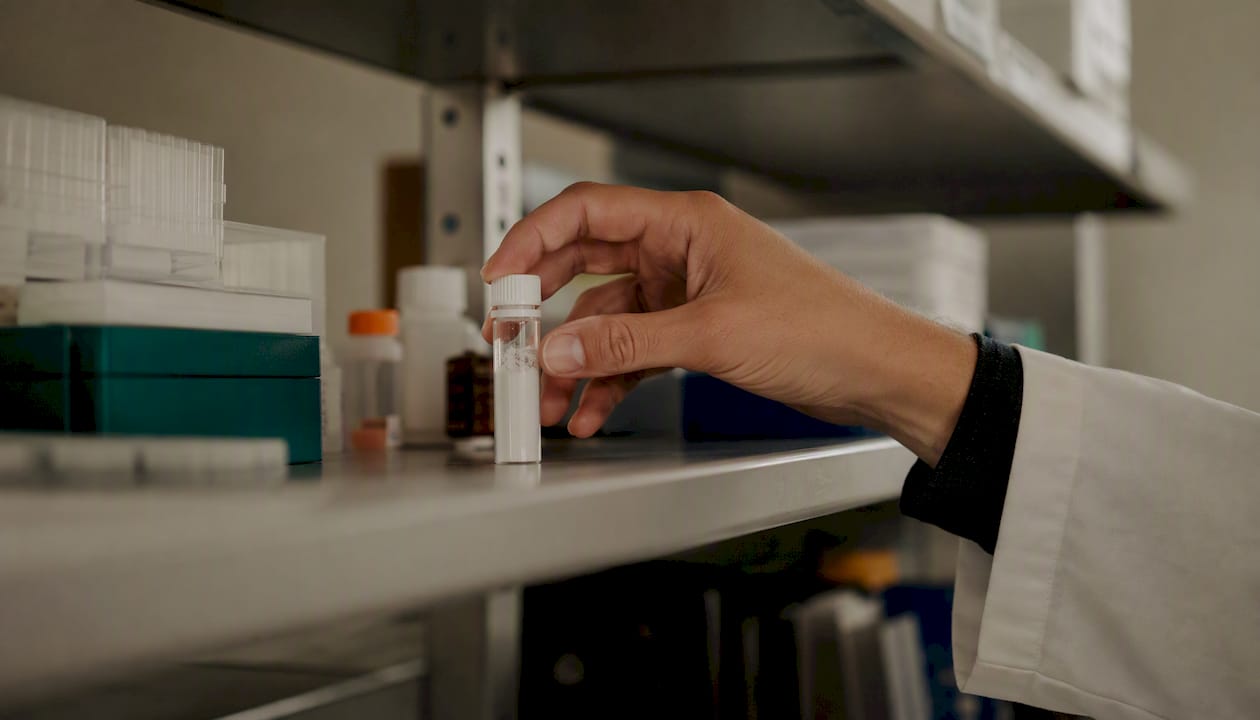
Store lyophilized HPLC-verified peptides per the supplier CoA recommendations. After reconstitution, refrigerate at 2–8°C for short-term use or freeze at −20°C to −80°C in aliquots sized to avoid freeze-thaw cycles. Every reconstitution event must be documented against the CoA batch number for full traceability. Reviewing HPLC purity standards alongside the CoA confirms the purity baseline before any aliquot enters an assay.
Labeling checklist (apply to every vial and aliquot tube):
- Peptide name and catalog number
- Concentration (mg/mL or µg/µL) and total volume
- Solvent type and any co-solvent percentage
- Reconstitution date and time
- Researcher initials
- CoA batch number
- Storage condition and expiry date
- Bacteriostatic water: commonly 28 days refrigerated; preservative-free: use within 24 hours
Aliquoting guidance:
- Use low-bind microcentrifuge tubes; minimize headspace to reduce oxidation.
- Size aliquots to single-experiment volumes; never refreeze a thawed aliquot.
- Record aliquot volumes, tube IDs, and freezer box/position in the LIMS or lab notebook.
- For chain-of-custody-sensitive studies, include a transfer log with each aliquot.
Pro Tip: When protocol sensitivity demands it, perform a microvolume UV absorbance check (A280 or peptide-specific wavelength) on a representative aliquot before committing the batch to experiments. Unexpected absorbance shifts indicate degradation or solvent contamination.
What U.S. regulatory and safety requirements apply to lab sharps?
Follow institutional biosafety committee (IBC) and OSHA guidelines for sharps handling, hazardous materials management, and documentation. Dispose of every needle immediately after use into an approved sharps container; never recap with two hands.
Required safety practices:
- Sharps container must be within arm's reach at the bench before any needle is uncapped.
- One-hand scoop technique only if recapping is operationally necessary; two-hand recapping is prohibited under OSHA bloodborne pathogen standards.
- Contract with a licensed sharps disposal service per local and state regulations; confirm disposal frequency with your institutional safety office.
- New peptide protocols require biosafety sign-off before bench work begins.
- Research-grade peptides are handled under standard biosafety practice; confirm institutional policy for any animal or human-use work and obtain IACUC or IRB approvals when relevant.
Common audit documentation items:
- CoA and batch records for each peptide lot
- Reconstitution records (date, researcher, solvent, concentration)
- Sharps disposal logs
- Training sign-offs for all personnel handling needles or hazardous solvents
Ready-to-use SOP checklist for syringe selection and peptide reconstitution
The checklist below maps each task to equipment specifications, single-use rules, and acceptance criteria. Import directly into your LIMS or lab SOP binder.
Numbered procedure:
- Confirm CoA batch number matches vial label; log in sample record.
- Prepare workspace (70% IPA wipe, PPE on, sharps container staged).
- Select and stage equipment per the task table below.
- Disinfect vial septum; allow to dry.
- Perform reconstitution using Luer-lock syringe (bulk transfer only).
- Discard reconstitution syringe into sharps container immediately.
- Switch to fresh U-100 insulin syringe for all draws.
- Perform visual inspection; reject if cloudy or particulate.
- Label vial and aliquot tubes per labeling checklist.
- Record reconstitution details in LIMS (fields below).
| Task | Syringe/Needle Spec | Single-Use Rule | Documentation Required |
|---|---|---|---|
| Bulk solvent transfer | 3–5 mL Luer-lock, 18–21G, 1/2 inch | Yes — discard post-transfer | Solvent type, volume, date, researcher |
| Routine draw/aliquot | 1 mL U-100 insulin, 29–31G, 1/2 inch | Yes — fresh per draw | Draw volume, aliquot ID, CoA batch |
| Small-volume draw | 0.3 mL U-100 insulin, 29–31G, 5/16 inch | Yes | Draw volume, aliquot ID |
| Sterile filtration | Luer-lock + 0.22 µm PES/PVDF filter | Yes — filter single-use | Filter lot, membrane type, pre-rinse volume |
Sample log entry fields: peptide name, CoA batch number, reconstitution date/time, solvent, concentration, total volume, aliquot count, storage location, researcher initials, visual inspection result, expiry date.
Acceptance criteria: solution clear and colorless (or per CoA specification), label complete, CoA batch confirmed, no particulates observed.
Why Peptasticlabs prioritizes CoA traceability and aseptic technique
The CoA batch number is what connects a supplier's purity data to a researcher's bench record, and that connection is what makes experimental results reproducible and auditable. Without it, a purity claim is a single data point with no chain of custody.
- Traceability reduces experimental variance: linking every reconstitution event to a specific CoA batch isolates supplier-side variables from protocol-side variables, which is critical for sensitive assays where a 1% purity difference can shift a dose-response curve.
- Independent third-party testing matters: in-house purity claims from a supplier are not equivalent to third-party HPLC verification. For assays where peptide concentration is the independent variable, the difference between 95% and ≥99% purity is not a quality preference — it is a data integrity issue.
- Aseptic technique preserves data integrity: a contaminated reconstitution introduces biological or chemical variables that cannot be controlled for post-hoc. The SOP steps above are not procedural formality; they are the mechanism by which the purity delivered at the vial is the purity that reaches the assay.
Peptasticlabs supplies HPLC-verified peptides with full batch documentation
Available from Peptasticlabs:
- Batch CoA access for every lot, linkable to bench reconstitution records
- Catalog of over 22 independently tested compounds covering metabolic, cognitive, tissue repair, longevity, immunology, and cosmetic research applications
- Bulk and wholesale ordering for institutional labs
- Technical support for reconstitution protocols and documentation requirements
Labs sourcing peptides for sensitive assays should confirm that their supplier's purity documentation matches the research-grade peptide standard before committing to a protocol. Place a procurement order or request CoA documentation directly at Peptasticlabs.
Sources
- Choosing insulin syringes for research reconstitution
- Peptide Research Safety Guide: Handling, Contamination Prevention, and Lab Best Practices (2026)
- Peptide Reconstitution: The Two‑Syringe Rule (2026)
- 29-g